I published an NFT collection with no Web3 experience

In this new year 2023, I wish to announce I’m super proud of having successfully generated an NFT collection and published it on a minting dapp. The NFTs can be minted through a smart contract on the Polygon blockchain and can be viewed on OpenSea! This is the first time I work within the Web3 ecosystem, and I’m really glad I did, I learned a lot. Hope you’ll find this guide inspiring and will make your own dapp!
Here are the steps I followed:
Create the layers
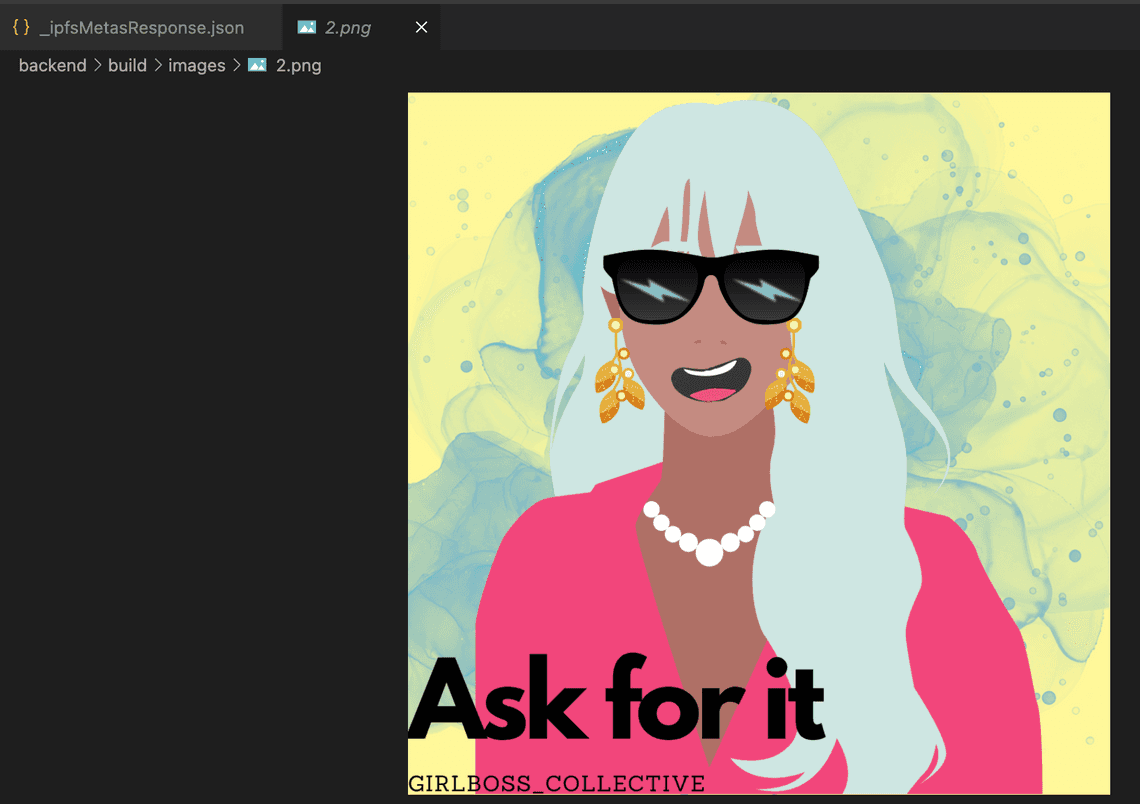
I created the NFT layers on Canva: I created one avatar, different layers with multiple variations, and a few backgrounds. All images are PNG files, with a transparent background, and share the same size (1000x1000px) so they all can be stacked together. In total, I have 7 layers and a total of 23 images. Each layer option has a rarity weight and I made them so they’re all not equally weighted.
Generate the collection
I used the minter-dapp repo on Github from Hashlips to generate the collection. Each image has different attributes, trait types, and values so they’re all unique, generated from the different layers, stacked on top of each other.
Upload to IPFS and deploy the contract
I used NFTPort, which provides an API to deploy an NFT collection contract. The contract allows us to mint NFT directly from a dapp. I liked their clean interface and how easy it was to use their endpoints thanks to their exhaustive documentation (read more about what makes an API documentation great!). Their free plan is more than generous with 5 deployed Polygon contracts and 5,000 items / collection included.
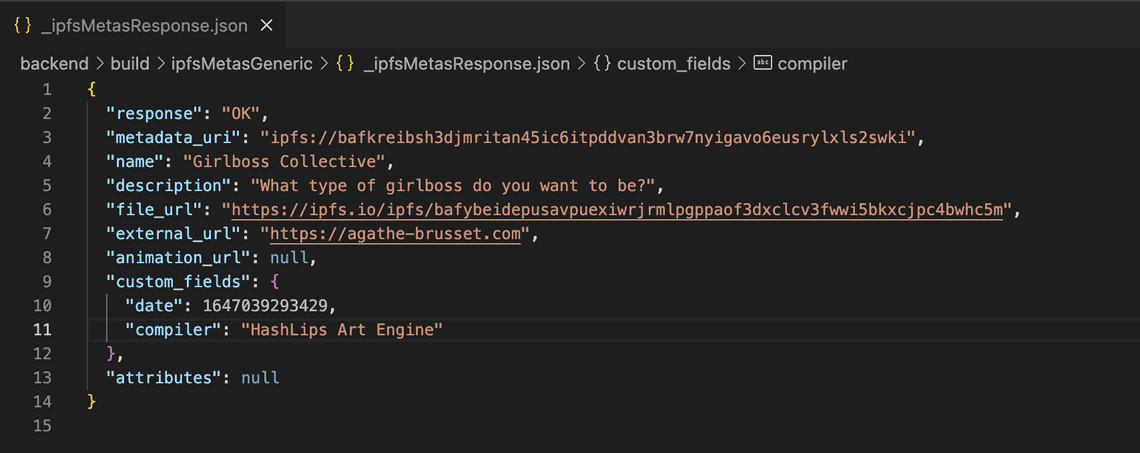
After having completed the contract information like mint price, contract name, contract owner address, and chain, I used NFT Port’s API to upload my files and metadata to IPFS so they’re decentralized.
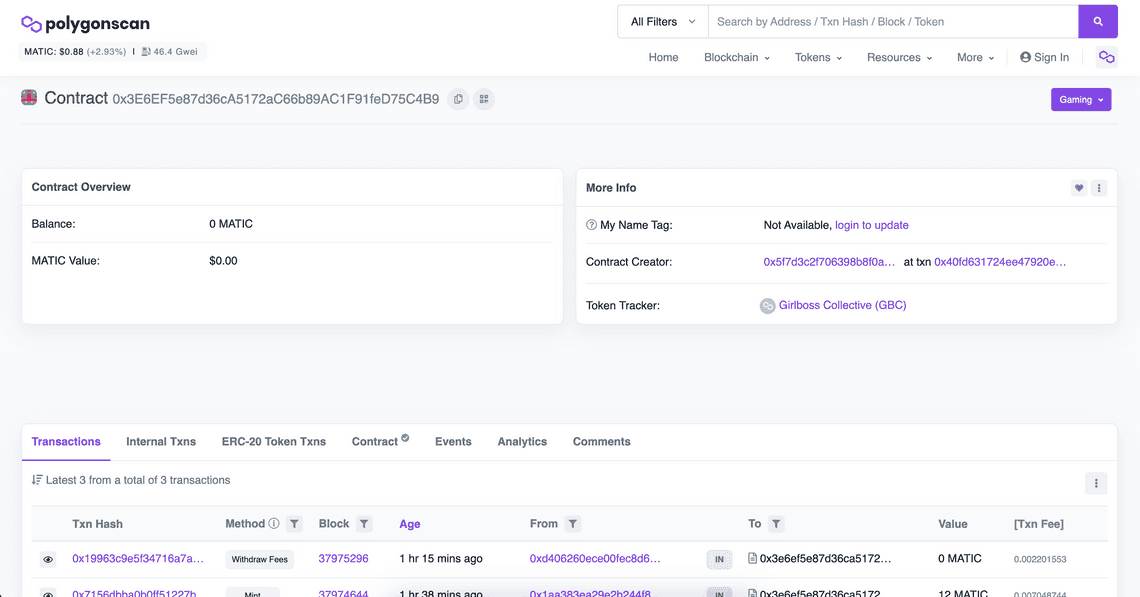
Once I tested everything on Goerli, I deployed the contract on Polygon:

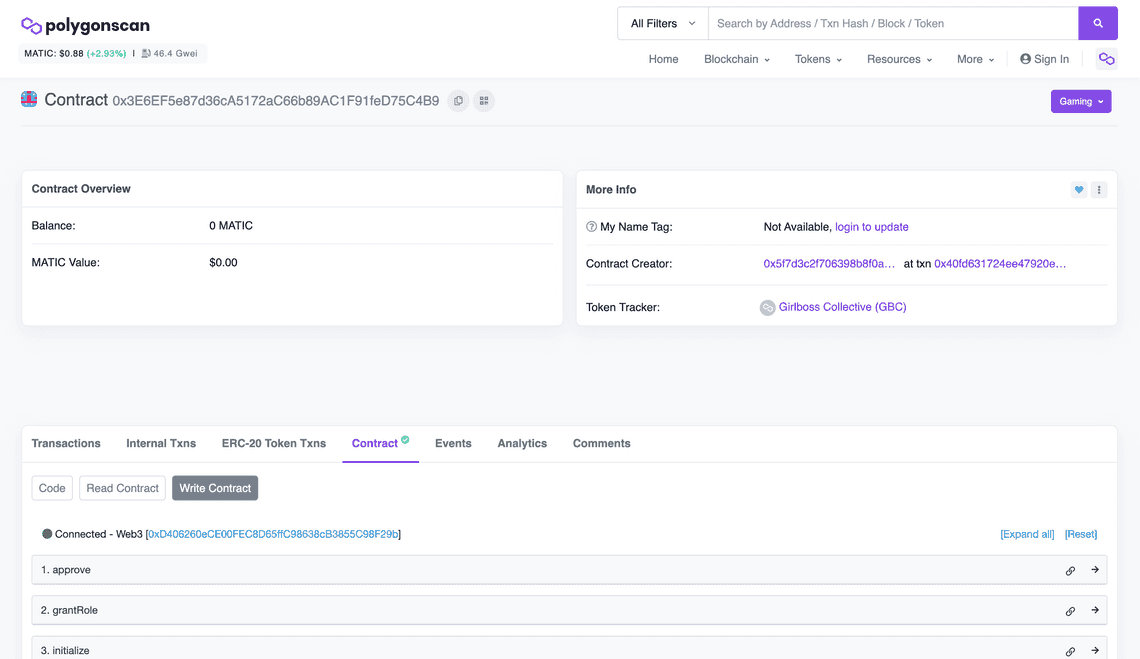
We can see the transaction here:
Create and deploy the minting dapp
I imported my repository to Netlify, which I already use for this blog and deployed the site, and made a few CSS changes to the template I had, customizing the icons, menu width, colors, fonts, and copy. This part was easier as I did some web design and learned HTML and CSS in the past although I still can’t get a div centered properly 😂
After a few commits, the website looks good enough.

The website users are guided to connect their wallets to purchase and mint their NFTs. There is no pre-sale, so they can mint their NFTs right now.
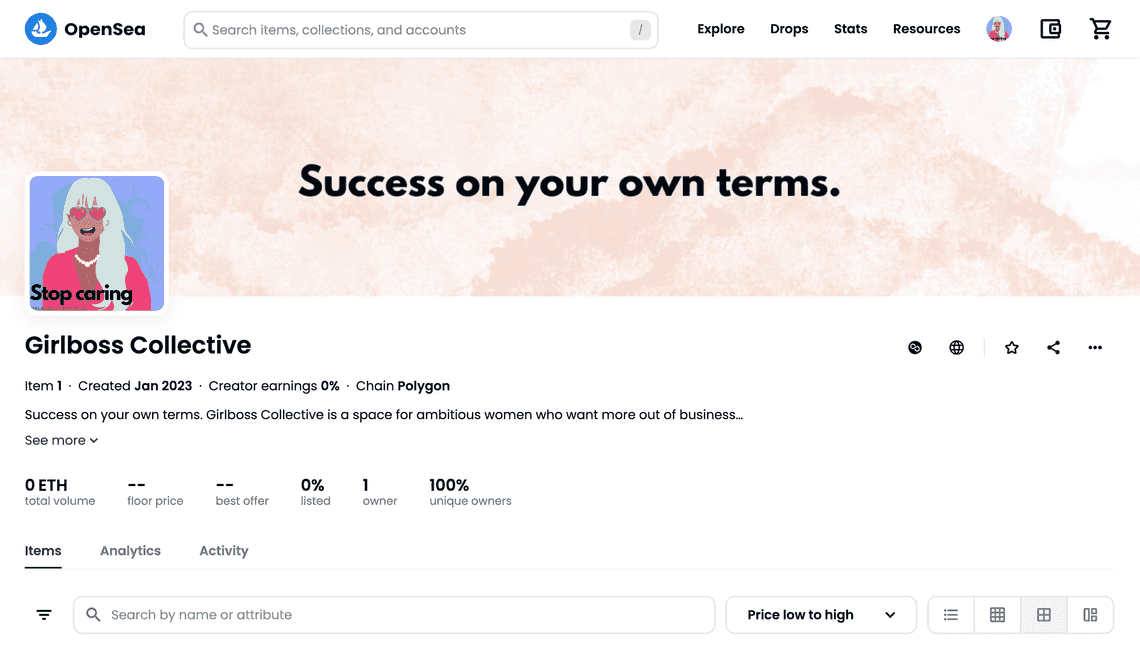
Once someone minted their first NFT of the collection, it appears on OpenSea. As I’m the collection owner, I can edit the banner, description, and all settings, although it’s already pre-populated with my contract values.
Profit: how to collect the funds from the smart contract
I can withdraw the funds from the contract by going to the contract page on Polygon scan, click Contract, then Connect to Web3, then go down to the withdrawFees function. Clicking on the Write button connects my Wallet and asks me to sign the transaction. Boom, I’m $10 richer! 🤑
This was an experiment, definitely not to take on the NFT craze, but to better understand it. It also allowed me to better understand how to deploy a smart contract and the different testing chains.
Continue your research:
Create your own minting dapp with this useful step-by-step video!
